In the previous article I explained what FreeDV is and why it is worth a try. This time it is pure bench work: FreeDV is installed, the Icom IC-7300 MK2 is plugged into the laptop with a single USB-C cable, and now every box in the software has to be filled in correctly. Here is exactly what I set, in the order I set it, including the traps I stepped into along the way.
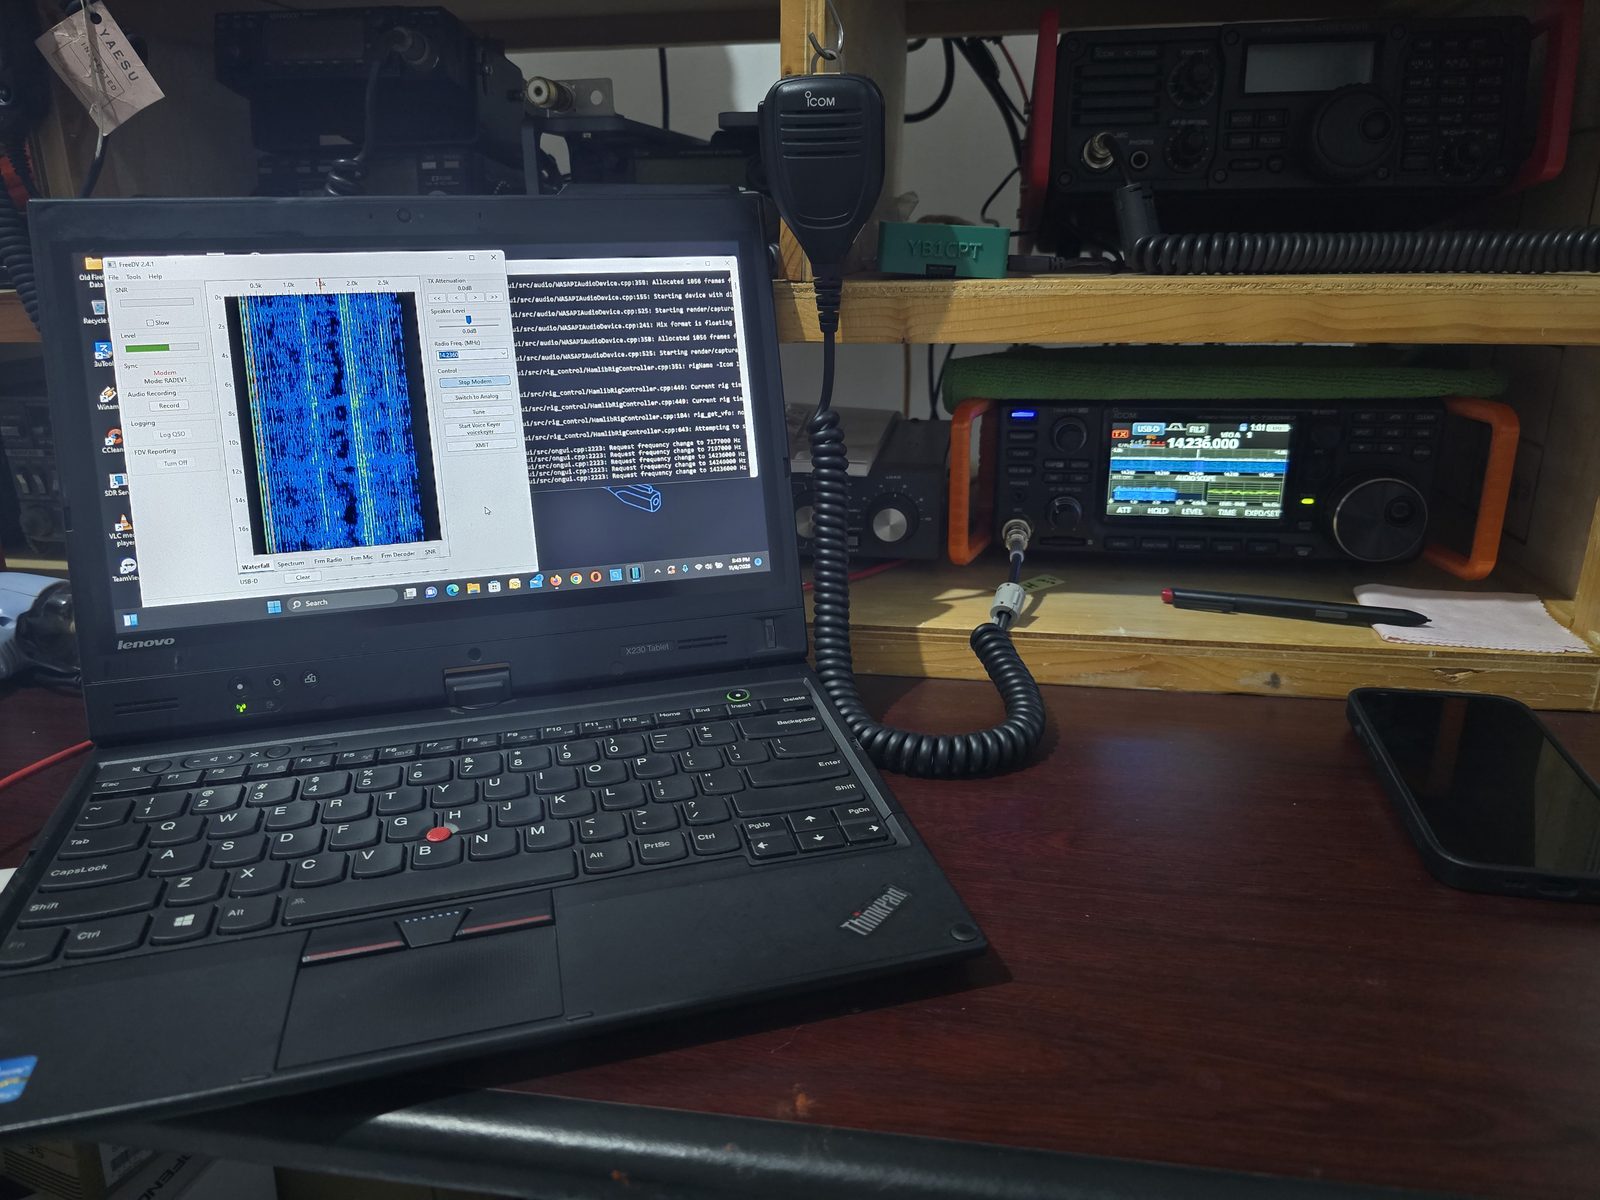
What I used
- Icom IC-7300 MK2, connected to the laptop by one USB-C data cable (audio and CAT control travel over the same cable)
- A Lenovo ThinkPad X230 Tablet running Windows 11
- FreeDV 2.4.1 (Windows build from freedv.org)
- OptiBeam antenna, radio running barefoot at moderate power
Before you open FreeDV
Four small jobs in Windows save a lot of head-scratching later.
1 · Install the Icom USB driver first
The MK2 uses Icom's "USB Driver" package (the one listed for IC-705 / IC-7760 / IC-7300MK2), not the Silicon Labs CP210x driver of the older IC-7300. Install it before plugging in the cable. It adds two virtual COM ports and the radio's sound device.
2 · Find out which sound device is the radio
Windows gives USB sound devices generic names such as "USB Audio CODEC" or "USB Audio Device", so it is easy to pick the wrong one. The quick test: unplug the USB cable, look at the list of sound devices, plug it back in. The entry that reappears is your radio.
3 · Tidy up the radio's sound device in Windows
- Control Panel → Sound → find the radio device on both the Playback and Recording tabs
- Properties → Advanced: 16 bit, 48000 Hz
- Switch off every "audio enhancement"
- Do not make it the default device, or Windows will happily transmit its notification sounds
4 · Note the COM port
Device Manager → Ports (COM & LPT). The MK2 shows two ports. Write down the number of "IC-7300MK2 Serial Port A (CI-V)"; that is the one FreeDV will use. Port B stays free for a logging program (mine runs N3FJP ACLog on it).
On the radio
| Setting | Value | Why |
|---|---|---|
| Mode | USB-D (press USB, then DATA) | In DATA mode the MK2 takes its modulation from the USB port by default (MENU → SET → Connectors → MOD Input → DATA MOD = USB), so the microphone stays out of the signal |
| USB AF/IF Output | Output Select: AF, AF Output Level about 50% | Gives FreeDV a healthy receive level |
| USB MOD Level | Start at 50% | Fine-tuned later against the ALC meter |
| Filter | FIL1, width 3.0 kHz | The factory DATA-mode filters are narrow. RADE needs about 1.5 kHz of clean audio, so a narrow filter means no sync at all |
| COMP, NB, NR | All OFF | A digital signal wants clean, unprocessed audio in both directions |
FreeDV Easy Setup, box by box
Open Tools → Easy Setup. The dialog has three steps.
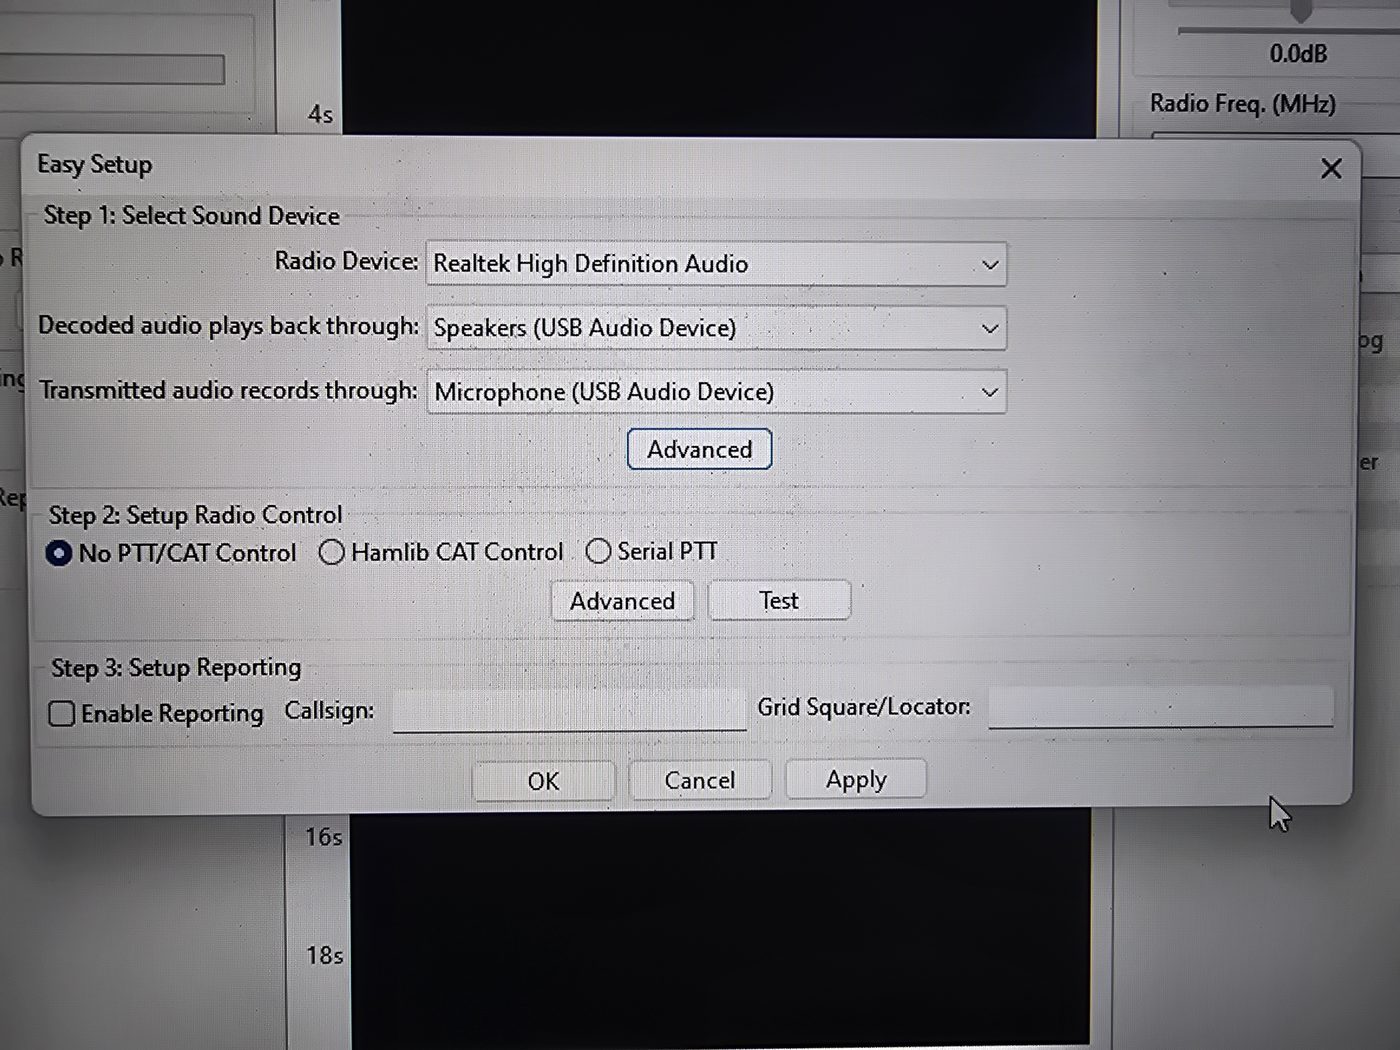
Step 1 · Select Sound Device
FreeDV works with two audio paths. One path connects the laptop to the radio (the digital signal). The other connects the laptop to you (your ears and your microphone). Keep them apart and everything falls into place.
| Box | Fill in |
|---|---|
| Radio Device | The radio's USB sound device (the one you identified by unplugging the cable) |
| Decoded audio plays back through | Your headphones, or the laptop speakers (Realtek) |
| Transmitted audio records through | Your headset microphone, or the laptop microphone (Realtek) |
A headset is the better choice. With open speakers, the decoded audio can leak back into the laptop microphone while you transmit.
Step 2 · Setup Radio Control
- Choose Hamlib CAT Control and click Advanced
- Rig model: Icom IC-7300MK2. Do not pick the plain "Icom IC-7300". That model talks to CI-V address 94h, while the MK2 listens on B6h, so the radio silently ignores every command. The MK2 entry arrived with Hamlib 4.7, so use a recent FreeDV
- Serial port: the COM number of Serial Port A (CI-V)
- Baud rate: 115200. Over USB the MK2 accepts any rate, so this value is not critical
- PTT: via CAT
Press Test with the power turned down or into a dummy load. The radio should key briefly. Note that a COM port can only be opened by one program at a time, so close WSJT-X (or anything else using Port A) before starting FreeDV.
Step 3 · Setup Reporting
- Tick Enable Reporting
- Enter your callsign and your Maidenhead grid locator
With reporting on, your station appears on the FreeDV Reporter map, and you can see who hears you even before anyone answers.
First run
- Select mode RADE V1 (the default in current versions) and press Start
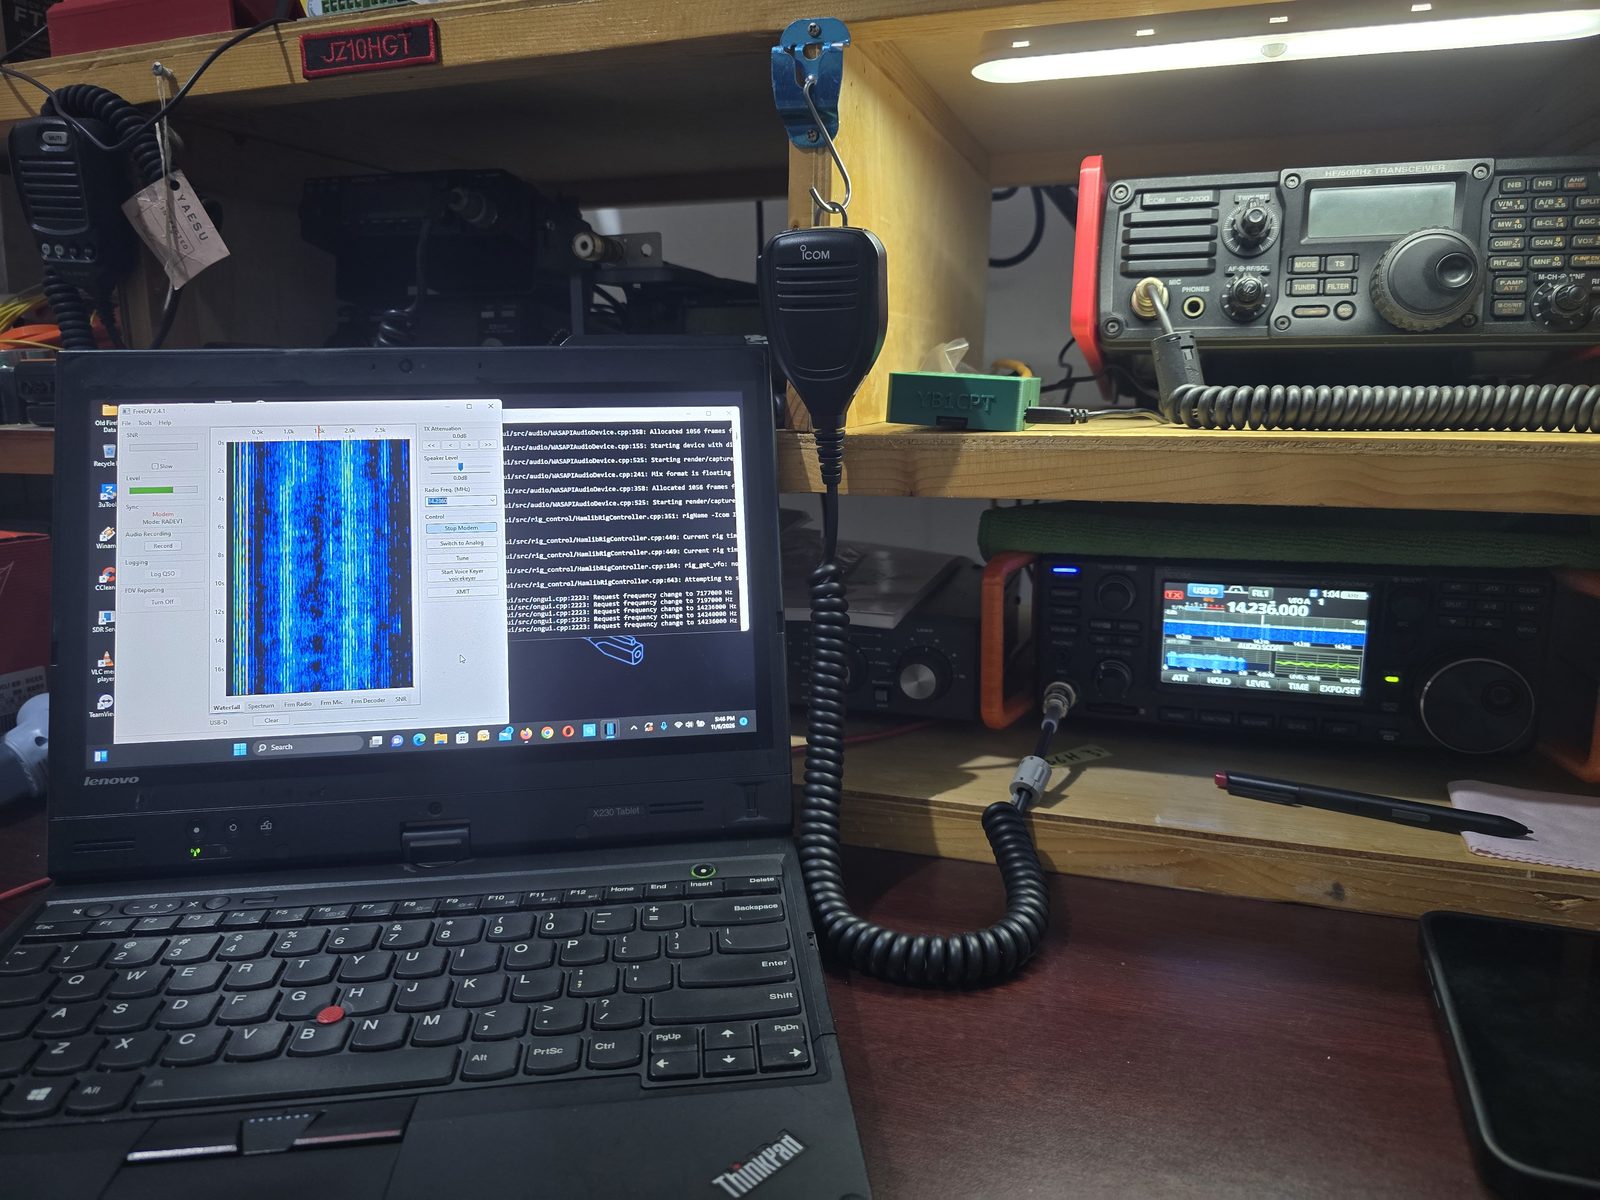
- Type a frequency such as 14.236 into FreeDV's Radio Freq. box. If CAT is working, the radio jumps to it straight away, and FreeDV's log shows lines like
Request frequency change to 14236000 Hz - Watch the waterfall: band noise should fill it. When a FreeDV station is on frequency, the Sync indicator turns green and you hear clean voice in your headphones
Do not be surprised if the band is quiet on your first evening. Mine was. The FreeDV community is still small, especially in this part of the world, so a quiet frequency usually means nobody is there yet, not that something is wrong.
Setting the transmit level
Key FreeDV and watch the radio's ALC meter. Raise the USB MOD Level until the ALC just starts to move, then back off a little. A FreeDV signal is dense and continuous, much like a data mode, so an over-driven signal gets wide quickly and becomes harder for the other station to decode.
Calling CQ with the voice keyer
On a quiet frequency, let FreeDV call for you. Right-click Start Voice Keyer and choose to record a new message. It records from the device in "Transmitted audio records through". This is the script I use:
"CQ CQ CQ FreeDV, this is Yankee Bravo One Charlie Papa Tango, YB1CPT, Yankee Bravo One Charlie Papa Tango, calling CQ on FreeDV RADE from Bekasi, Indonesia, grid Oscar India Three Three. YB1CPT, calling and listening."
For weak or fading conditions, a short version works better:
"CQ FreeDV, CQ FreeDV, Yankee Bravo One Charlie Papa Tango, YB1CPT, listening."
- Leave about one second of silence at the start of the recording. RADE needs a moment to sync, otherwise the first word gets clipped at the receiving end
- Speak at a normal pace, 5 to 10 cm from the microphone
- In the voice keyer options, set 5–6 repeats with a 10–15 second listening gap between them
- Keep the FreeDV Reporter page open while the keyer runs. Any station that decodes you appears there with your SNR
- Stay at the station while the keyer is running
What hands-on practice taught me
Doing the setup for real, at my own operating desk, refined the checklist from part one. The previous article has now been updated with these points:
- No separate
rigctldis needed. FreeDV has Hamlib built in, so select the IC-7300MK2 model directly in Easy Setup. Hamlib model 3073 is the older IC-7300 at address 94h and will not reach an MK2 at its default B6h - Operating in USB-D lets the MK2's default DATA MOD = USB do the job, and keeps the microphone out of the transmitted signal
- The MK2 has no "CI-V USB Baud Rate" menu item. The USB link works at whatever rate the software asks for
When it misbehaves
| Symptom | Most likely cause |
|---|---|
| Waterfall shows nothing, or only laptop noise | The Radio Device is set to the laptop's sound card instead of the radio's USB device |
| Test does not key the radio | Wrong rig model (IC-7300 instead of IC-7300MK2), wrong COM port, or another program holding Port A |
| Signals visible but never any Sync | Filter too narrow (use a 3.0 kHz filter), mode mismatch with the other station, or you are off frequency |
| Notification sounds go out on the air | The radio's sound device is set as the Windows default device |
| Everything works, but nobody is there | Normal. Check the FreeDV Reporter and call CQ with the voice keyer |
Written for baron.id · 73 de YB1CPT